100 DIY Room Decor Ideas to Transform Your Space
Tired of staring at the same four walls? DIY room decor isn’t just a trend—it’s a revolution! Whether you’re a crafty pro or a first-timer, this guide serves up *100 budget-friendly, creative ideas* to refresh your space. From upcycled furniture to statement wall art, we’ll show you how to turn “meh” into “wow” without emptying your wallet. Let’s dive in—your dream room is just a glue gun away!
Introduction to DIY Room Decor

Why DIY Room Decor is Trending
DIY room decor has exploded, thanks to Instagram reels, Pinterest boards, and our collective craving for personalized spaces. Let’s face it: store-bought decor often feels generic—and pricey. Meanwhile, DIY projects let you repurpose old items, slash costs, and flex your creativity. Sustainability plays a role too; upcycling keeps materials out of landfills. Heck, even renters are hopping on the trend with removable wallpaper and temporary accents. In other words, DIY isn’t just about saving cash—it’s about crafting a space that screams you.
How to Use This Guide
Don’t sweat it—this isn’t a linear marathon. Skip around! If wall art sparks joy, head to Part 3. Obsessed with lighting hacks? Part 5’s your jam. Each section includes beginner-friendly ideas and advanced projects for seasoned crafters. Pro tip: Bookmark this page, grab a coffee, and let’s get started!
Benefits of Transforming Your Space with DIY Projects
Beyond the Instagram-worthy results, DIY projects boost mental well-being. Studies show creative tasks reduce stress—who needs meditation when you’ve got a paintbrush? Plus, customizing your space fosters a sense of ownership. Imagine sipping tea in a nook you built yourself! And let’s not forget the budget perks: thrifted decor and dollar-store supplies keep costs low. For instance, a $5 side table can become a boho-chic masterpiece with some chalk paint and elbow grease.
External Link: For more budget-friendly home decor tips, check out The Spruce Crafts.
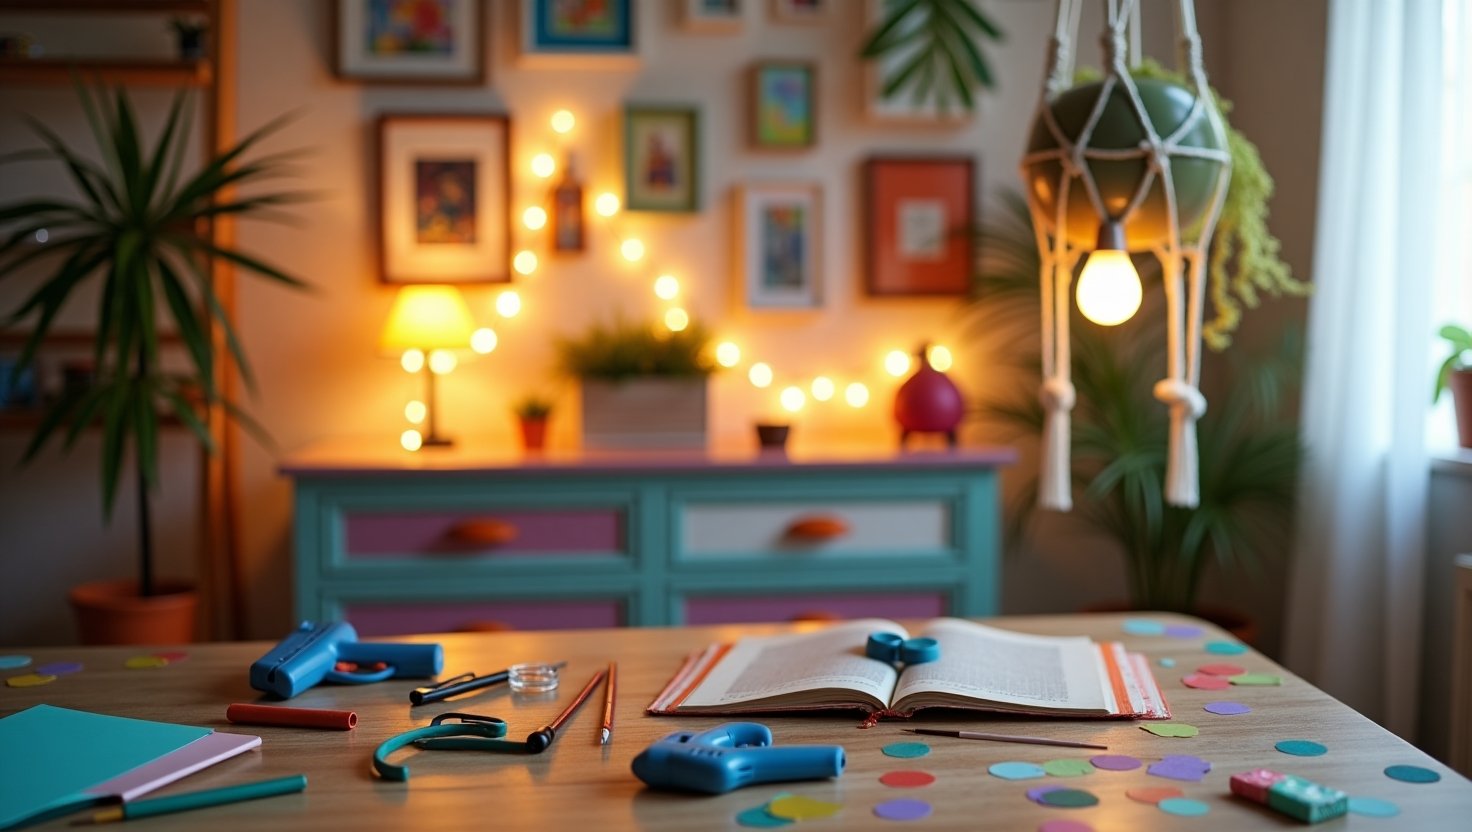
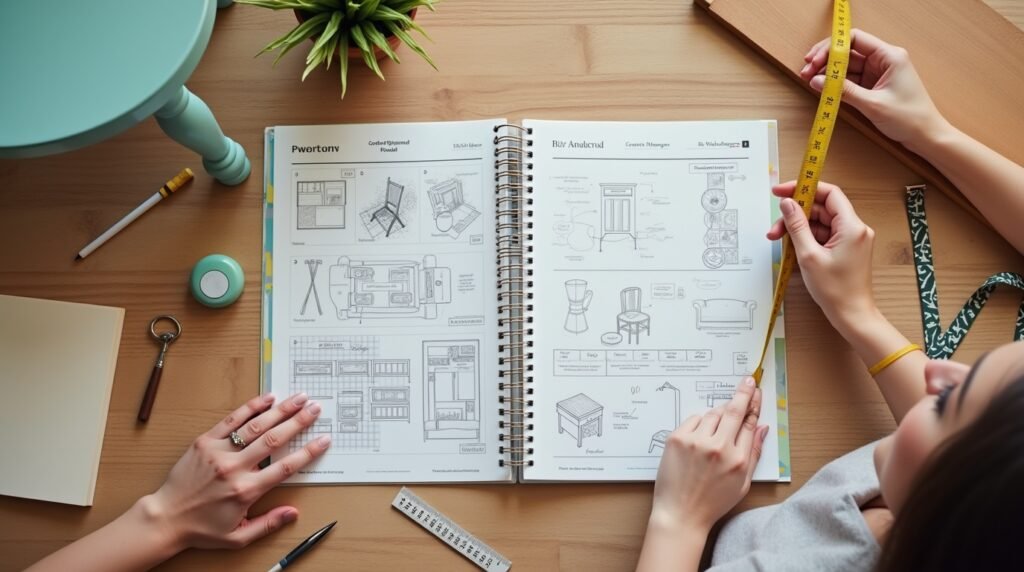
Essential Tools and Materials for DIY Room Decor
Basic Tools Every DIYer Needs
Think of your DIY toolkit as a superhero’s utility belt. Scissors, a glue gun, and measuring tape are non-negotiables—they’re the bread and butter of any project. But wait, there’s more! A multi-surface paintbrush saves time when hopping between walls and furniture, while a craft knife tackles precision cuts like a pro. Oh, and don’t forget sandpaper; it’s the unsung hero that turns rough edges into silky finishes. Pro tip: Store tools in a pegboard organizer (a DIY project itself!) to keep chaos at bay.
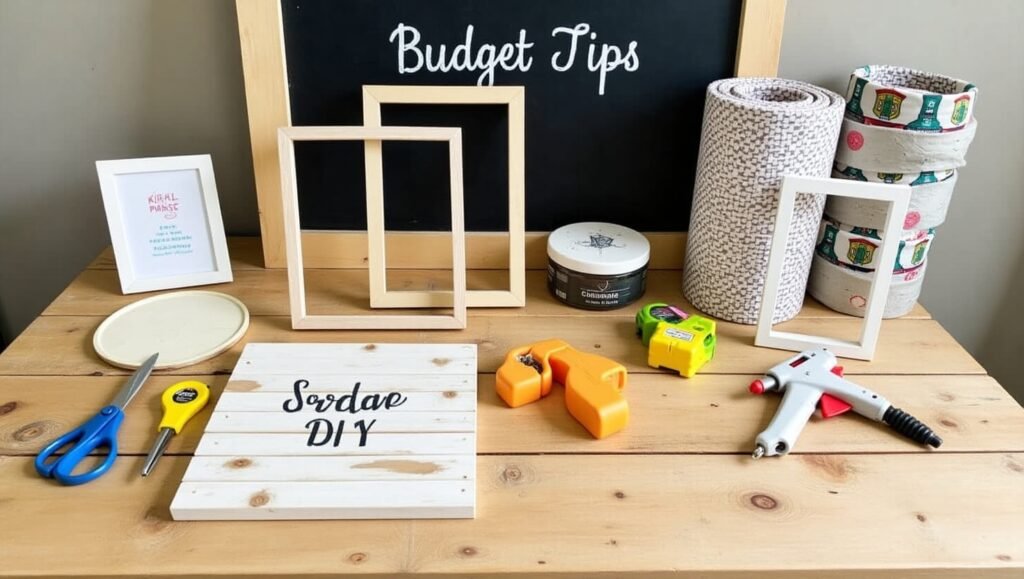
Affordable Materials to Source
Who needs a fancy decor store? Recycled wood pallets can morph into rustic shelves, while thrifted fabric becomes boho-chic curtains. Meanwhile, dollar-store frames? With a coat of chalk paint, they’re Instagram-worthy in minutes. Here’s the kicker: Apartment Therapy champions eco-friendly DIY projects using old mason jars or scrap fabric. Raid your attic for forgotten treasures—those vintage suitcases? Perfect for hidden storage!
Where to Find Budget-Friendly Supplies
Scour thrift stores for hidden gems, or hit up Facebook Marketplace for freebies (yes, people give away furniture!). Local buy-nothing groups are goldmines for discarded decor—think lamps, frames, and even paint cans. For unique materials, try community craft swaps; trade that extra yarn for someone’s leftover tiles. Psst… Estate sales often sell tools dirt-cheap. Remember, DIY room decor thrives on creativity, not cash!
External Link: Discover how to turn trash into treasure with Apartment Therapy’s eco-friendly DIY projects.
DIY Wall Decor Ideas
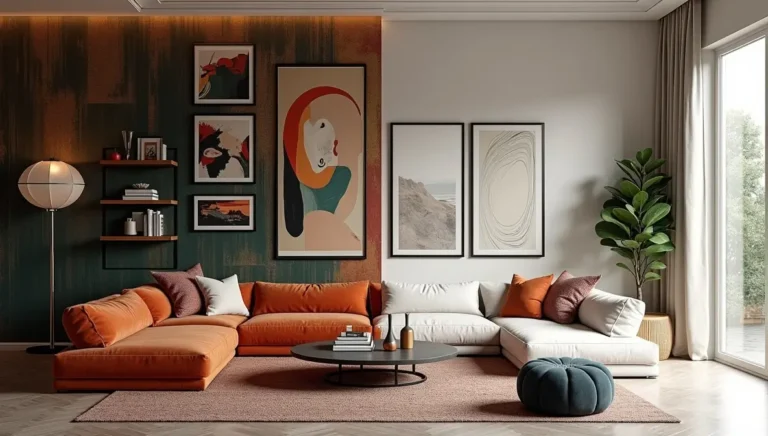
1. Gallery Wall Creations
Blank walls? No problemo. A gallery wall is your ticket to instant personality—think of it as a mood board you can touch. Mix framed art with quirky finds like vintage plates or 3D butterflies. Thrifted frames painted in mismatched colors add boho charm, while floating shelves display plants or mini sculptures. Pro tip: Use washi tape to map layouts before hammering nails. For a budget-friendly twist, frame DIY abstract art using leftover paint and canvas. Voilà—your walls just got a PhD in cool!
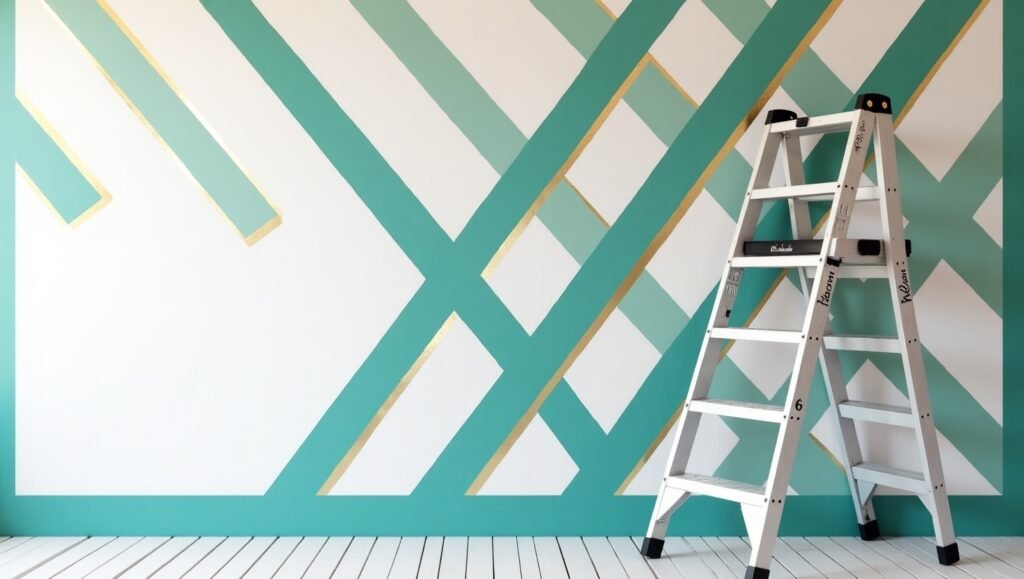
2. Accent Walls with Paint or Wallpaper
Want drama without the Renovation Rapture? Accent walls are your BFF. Geometric patterns (hello, painter’s tape!) create modern flair, while removable wallpaper lets renters go wild without landlord side-eye. Stencils? They’re like stamps for walls—try Moroccan motifs or tropical leaves. Or, go rogue with ombre effects using sponges. Psst… HGTV swears by beginner-friendly upcycling ideas like chalkboard walls for doodle-happy spaces.
External Link: For stencil hacks and more, explore HGTV’s beginner-friendly upcycling ideas.
3. DIY Wall Shelves and Functional Art
Shelves aren’t just for books—style ’em up! Recycled wood becomes rustic floating shelves, while pegboards morph into customizable storage for plants, tools, or fairy lights. Macramé plant hangers add boho texture, and ladder shelves lean into farmhouse vibes. Got old crates? Nail ’em sideways for shabby-chic displays. The best part? These projects double as decor and storage—because who says pretty can’t be practical?
4. Creative Use of Mirrors and Tapestries
Mirrors aren’t just for checking your hair—they’re light magnets. A mosaic mirror frame made from broken tiles brightens corners, while a floor-length mirror with stenciled edges screams Parisian chic. Tapestries, meanwhile, are instant vibe-setters. Dye plain fabric with tea bags for vintage hues, or stitch pom-pom borders for whimsy. Pro move: Layer a tapestry behind floating shelves for depth. Your walls will thank you!
Furniture Makeover Projects
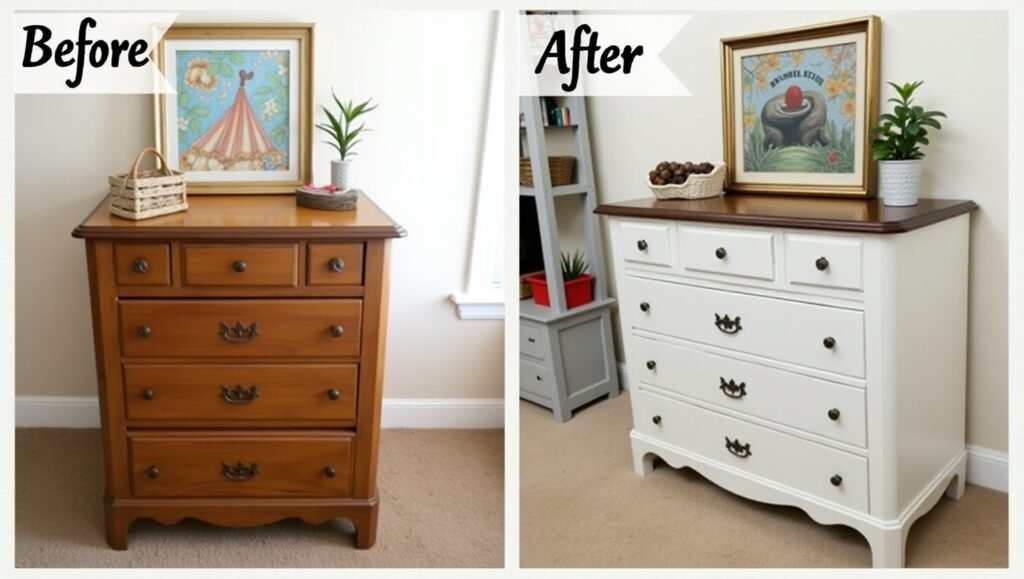
1. Upcycling Old Furniture
Got a dusty dresser or wobbly chair? Don’t toss it—transform it! Chalk paint is a game-changer: slap on two coats, sand the edges for shabby-chic vibes, and boom—instant farmhouse charm. For decorative flair, try decoupage with vintage maps or comic books. Reupholstering? It’s easier than you think—swap stained fabric for bold patterned linen using a staple gun. Pro tip: Sand and prime surfaces first; skipping this step is like wearing socks with sandals—just don’t.
2. Customizing IKEA Furniture
IKEA hacks are all the rage, and for good reason. Turn a basic IVAR cabinet into a boho beauty by swapping legs for hairpin ones. KALLAX shelves? Add woven baskets and peel-and-stick wallpaper for textured depth. Even drawer knobs matter—replace bland plastic with brass handles or painted wooden ones. Better yet, use vinyl wraps to fake a marble countertop on a LACK side table. Suddenly, your mass-produced furniture becomes a one-of-a-kind showstopper!
External Link: Need inspo? HGTV’s beginner-friendly upcycling ideas include genius IKEA hacks!
3. Building Your Own Furniture
No fancy tools? No problem! Pallet wood is your bestie here—sand it down, stain it, and assemble a rustic coffee table with casters. Cinderblocks aren’t just for construction sites: stack ’em with wooden planks for industrial bookshelves. Feeling adventurous? Build a rope stool by wrapping thick rope around a PVC pipe frame. Pro move: Use milk crates as modular storage units—paint them neon or leave ’em raw for 90s nostalgia. DIY furniture isn’t just cheaper; it’s conversation-starting magic.
Lighting and Ambiance Upgrades
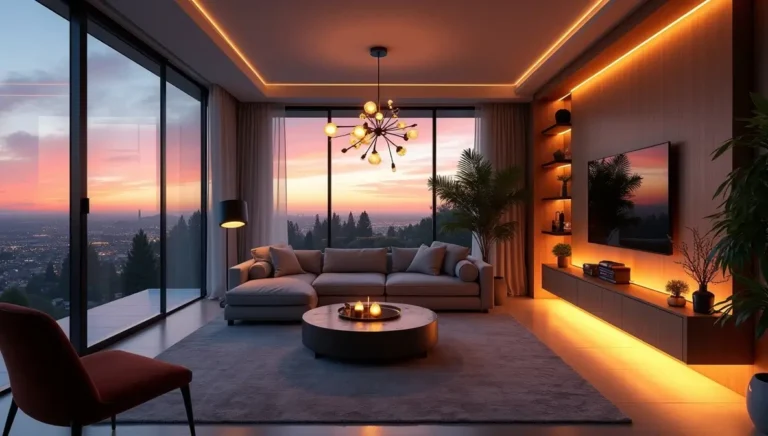
1. DIY Lamps and Pendant Lights
Lighting isn’t just functional—it’s mood-setting magic. Turn a mason jar into a farmhouse pendant light by wiring a bulb through its lid. Paper lanterns? Paint ’em with watercolors for a dreamy glow. Got old baskets? Drill a hole, add a bulb kit, and boom—boho-chic pendant lights. For industrial flair, wrap copper piping around a bulb base. Pro tip: Use dimmer switches to control ambiance. Suddenly, your living room feels like a cozy café—no barista required.
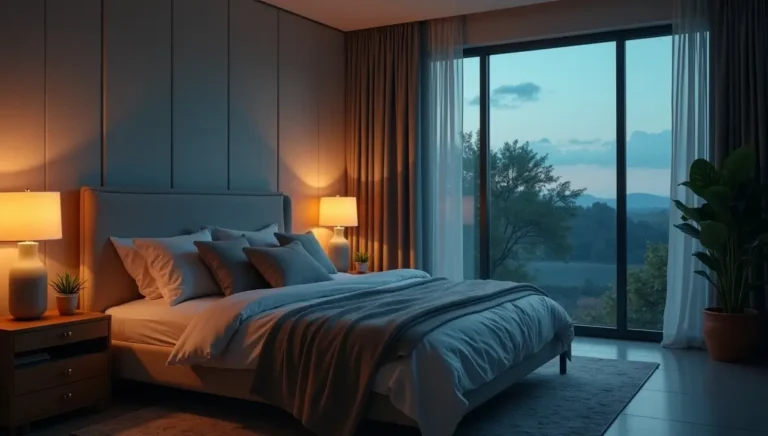
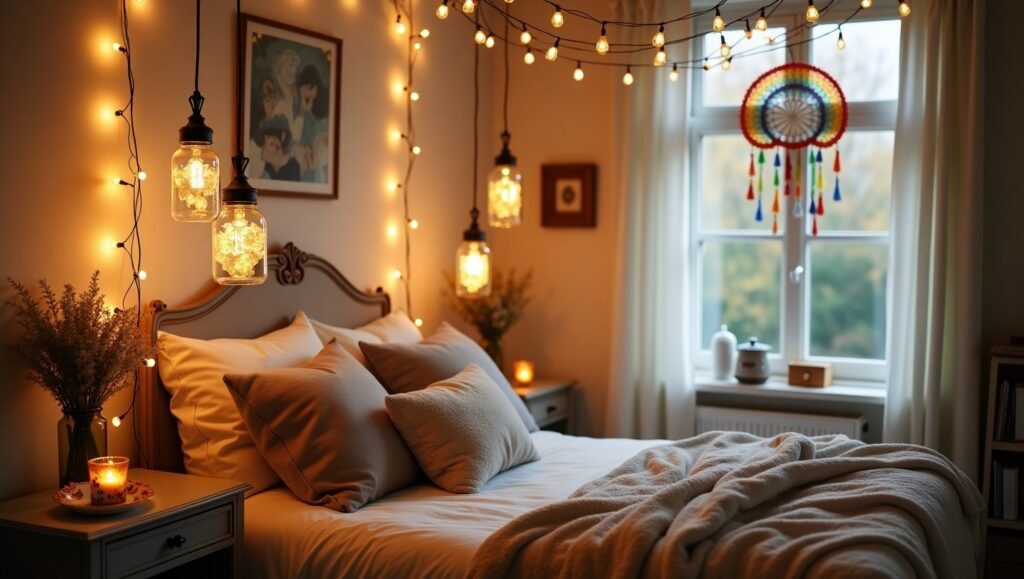
2. Fairy Lights and LED Innovations
Fairy lights are the Swiss Army knife of decor. Drape ’em over a DIY canopy bed for ethereal vibes, or stuff ’em into clear glass bottles for starry-night accents. LED strips? Stick ’em under shelves, behind TVs, or along stair edges for futuristic flair. Lightbox signs let you spell out motivational quotes (think “But First, Coffee”) or inside jokes. Pro move: Use color-changing LEDs to switch moods—romantic red for date night, calm blue for Netflix marathons.
External Link: For eco-friendly DIY lighting projects, check out Apartment Therapy’s creative ideas.
3. Candles and Natural Lighting Hacks
Candles are instant ambiance, but store-bought ones can break the bank. Make your own using soy wax, essential oils, and thrifted containers (hello, vintage teacups!). Suncatchers? Craft ’em from CD fragments or stained glass paint to scatter rainbows. Maximize natural light with mirrors opposite windows or sheer curtains that diffuse sunlight. Pro tip: Place reflective trays under candles to amplify flicker. Bonus: DIY lanterns made from tin cans (punch holes in patterns!) add rustic charm to patios or bedside tables.
Textile and Soft Furnishing DIYs
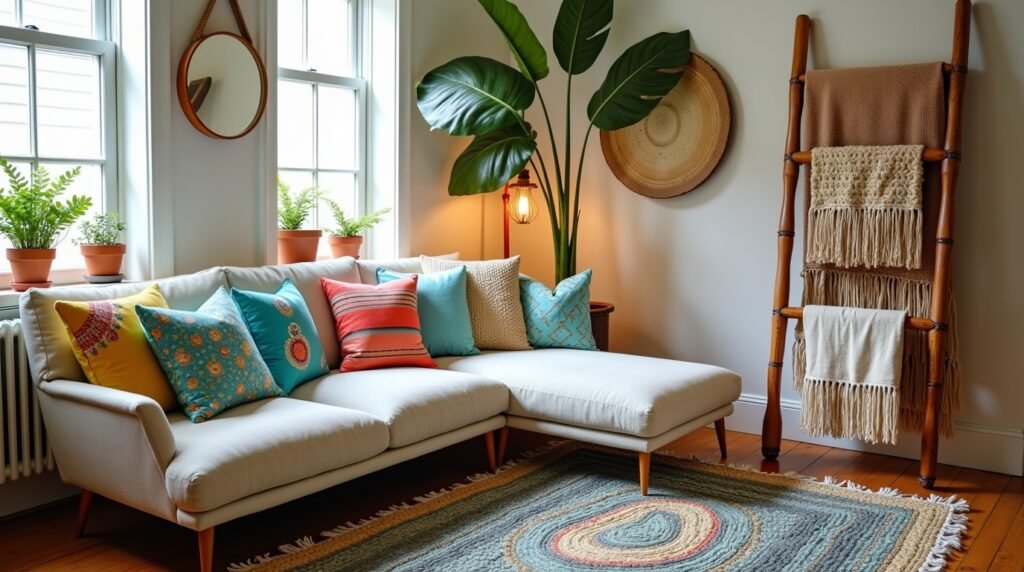
1. Handmade Throw Pillows and Cushions
Throw pillows are the jewelry of home decor—affordable, swappable, and oh-so-stylish. No-sew pillows? Easy-peasy: use iron-on adhesive to turn old band tees into nostalgic accents. For boho vibes, dip-dye plain covers in spicy mustard or sage green. Embroidery adds a personal touch—stitch your pet’s face or a cheeky phrase like “Nap Queen.” Pro tip: Mix textures—pair faux fur with linen for Instagram-worthy contrast. Best part? These projects take under an hour but look luxe AF.
2. Curtains and Rugs on a Budget
Who says curtains need to cost a fortune? Drop cloths (yes, the painter’s kind!) dye beautifully and block light like a champ. For rugs, braid old T-shirts into a colorful floor mat—zero sewing required. Stenciled designs? Grab a $2 sponge, fabric paint, and transform a plain rug into a geometric masterpiece. Pro move: Layer a small rug over a larger jute one for textured depth. Psst… Apartment Therapy has genius hacks for eco-friendly DIY projects using upcycled fabrics.
External Link: Dive into Apartment Therapy’s eco-friendly DIY projects for more textile inspo!
3. DIY Blanket Ladders and Quilts
Blanket ladders aren’t just functional—they’re farmhouse-chic decor. Nail wooden dowels to a reclaimed plank, then drape knit throws or macramé blankets for cozy vibes. Quilting sounds intimidating, but start small: stitch fabric scraps into a patchwork pillow cover. For a boho throw, add tassels to a plain blanket using embroidery floss. Pro tip: Host a craft swap to score free fabric—your next quilt masterpiece might be just a tea-stained sheet away!
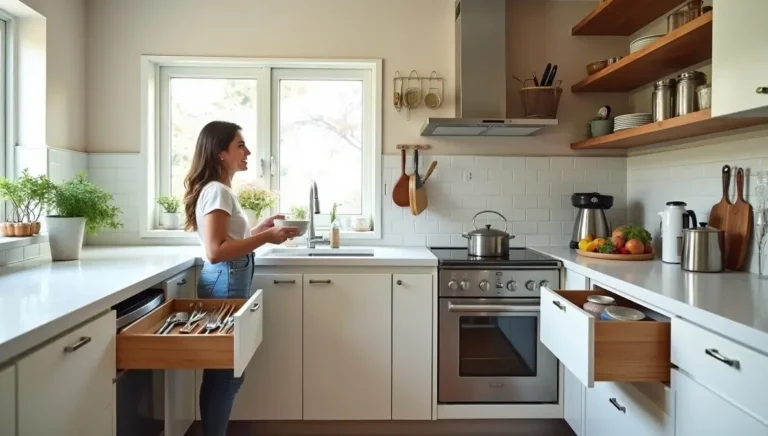
Storage and Organization Hacks
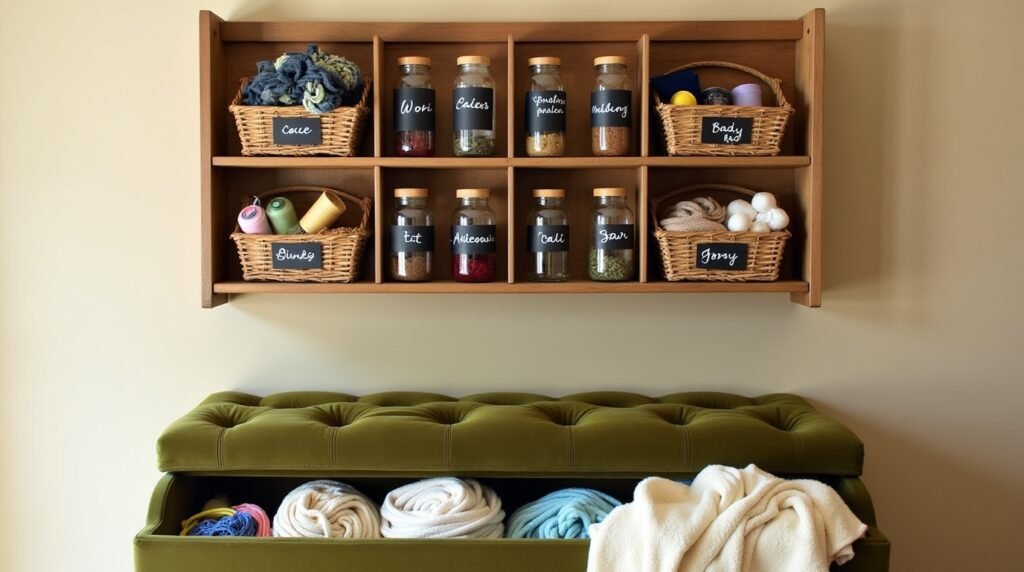
1. Repurposed Storage Solutions
Clutter cramping your style? Repurposed storage is here to save the day! Turn a shoe organizer into a wall-mounted craft supply hub—pockets hold everything from glue sticks to scissors. Mason jars nailed to a plank become spice rack chic for small trinkets. Wooden crates? Stack ’em sideways for open shelving that screams industrial loft. Pro tip: Paint crates in mismatched pastels for a playful pantry. Even old gutters can moonlight as under-bed toy storage—talk about thinking outside the toolbox!
2. DIY Closet and Desk Organizers
Chaotic closets and messy desks? No sweat. For closets, hang a corkboard on the door to organize jewelry or ties with pushpins. PVC pipes cut into sections make perfect shoe racks or scarf holders. At your desk, upcycle tin cans into pencil holders—wrap ’em in washi tape for flair. Drawer dividers? Use cardboard scraps to section off socks or stationery. Psst… The Spruce Crafts offers genius budget-friendly home decor tips for maximizing small spaces.
External Link: For clever smart storage solutions, explore The Spruce Crafts’ organization hacks.
3. Hidden Storage Decor Ideas
Secret storage is the ultimate two-for-one deal. Turn a hollow ottoman into a blanket stash or board game vault. Floating desks with fold-down panels hide laptops and notebooks when not in use. Under the bed? Slide in DIY rolling drawers made from cardboard boxes wrapped in remnant fabric. Even wall art can multitask—hang a frame with a hidden shelf behind it for keys or AirPods. Pro move: Use magnetic strips inside cabinet doors to store bobby pins or spices. Who knew clutter could vanish so stylishly?
Seasonal and Temporary Room Transformations
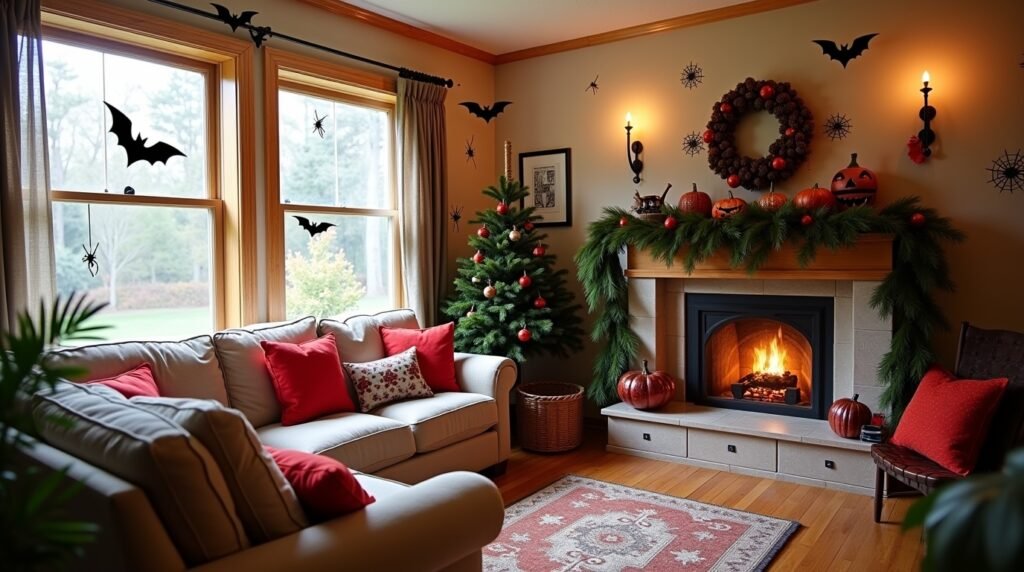
1. Holiday-Themed DIY Projects
Who says festive decor has to cost a fortune? Whip up a pinecone garland with twine and hot glue, or turn old sweaters into cozy Christmas stockings. For Halloween, carve jack-o’-lanterns from fake pumpkins (they last forever!) or craft spooky silhouettes from black cardboard. Spring vibes? Hang paper cherry blossoms from the ceiling or build a pastel egg wreath. Pro tip: Use removable hooks to hang seasonal pieces without damaging walls. Bonus: Repurpose Mason jars as Valentine’s candle holders—fill ’em with candy hearts and tea lights. Festive flair on a budget? Nailed it.
2. Reversible Décor for Renters
Renting doesn’t mean sacrificing style! Removable decals let you add temporary wallpaper accents to boring walls—peel ’em off when you move. Command strips are your BFF for hanging lightweight frames or macramé planters without nail holes. Swap out throw pillow covers seasonally (floral for spring, plaid for winter) or drape a colorful bedsheet as a temporary curtain. Pro move: Use washi tape to create geometric patterns on furniture or mirrors—it’s like temporary tattoos for your decor. The Spruce Crafts shares genius budget-friendly home decor tips for renters, like using tension rods for floating shelves.
External Link: For more renter-friendly hacks, explore The Spruce Crafts’ budget decor ideas.
Tips for Successfully Executing DIY Projects
1. Planning and Budgeting
First things first: Sketch your vision—whether it’s a napkin doodle or a Pinterest board. Budgeting isn’t sexy, but it’s crucial. List materials, compare prices (thrift stores vs. online deals), and stick to the plan. For instance, that 50mid−centurylampmakeover∗mightwaitifyou’reprioritizinga∗50mid−centurylampmakeover∗mightwaitifyou’reprioritizinga∗20 accent wall. Use apps like Google Keep to track costs or repurpose supplies you already own. Pro tip: Start with small, beginner-friendly projects (like painted plant pots) to build confidence—and nix the guesswork!
External Link: For budget-friendly home decor tips, The Spruce Crafts offers genius hacks to stretch your dollars.
2. Avoiding Common DIY Mistakes
We’ve all been there: Cutting fabric before measuring twice or buying non-washable paint for a kid’s room. Yikes. Avoid facepalms by testing materials first—paint a swatch, check fabric durability, or mock up layouts with washi tape. Another rookie move? Overcomplicating designs. Keep it simple—less is more when you’re starting out. For example, stenciling one wall beats hand-painting a Sistine Chapel ceiling. And always sand surfaces before painting—skip this, and your masterpiece will peel faster than a sunburned tourist.
FAQs Section
1. What Are the Easiest DIY Room Decor Projects for Beginners?
No sweat—start with no-sew throw pillows (fabric glue is your friend!) or painted plant pots using leftover acrylic paint. Washi tape wall art lets you create geometric patterns without commitment, and framed fabric scraps add instant color. Pro tip: Thrift store frames + scrapbook paper = *10-minute gallery wall*. Easy-peasy!
2. How Can I Decorate My Room on a Tight Budget?
Think thrifty: Raid garage sales for $5 side tables to upcycle, or turn old bedsheets into boho curtains. Dollar-store baskets become chic storage with a coat of spray paint, and fallen branches? Sand ’em down for floating shelves. Psst… Community buy-nothing groups often giveaway decor—freebies for the win!
3. What Tools Do I Need to Start DIY Room Decor?
Keep it simple: A glue gun, scissors, measuring tape, and paintbrushes cover 90% of projects. Add sandpaper for smoothing edges and command strips for renter-friendly hangs. Pro move: A basic toolkit (screwdriver, hammer) costs under $20 and lasts forever.
4. How Do I Ensure My DIY Projects Look Professional?
Details matter: Sand surfaces before painting, prime dark materials to avoid bleed-through, and use stencils for crisp lines. Measure twice, cut once—this mantra saves time and tears. For furniture makeovers, replace dated hardware with modern knobs. Voilà—store-worthy results on a shoestring budget!